How a Garden Fork Transforms Your Vegetable Patch
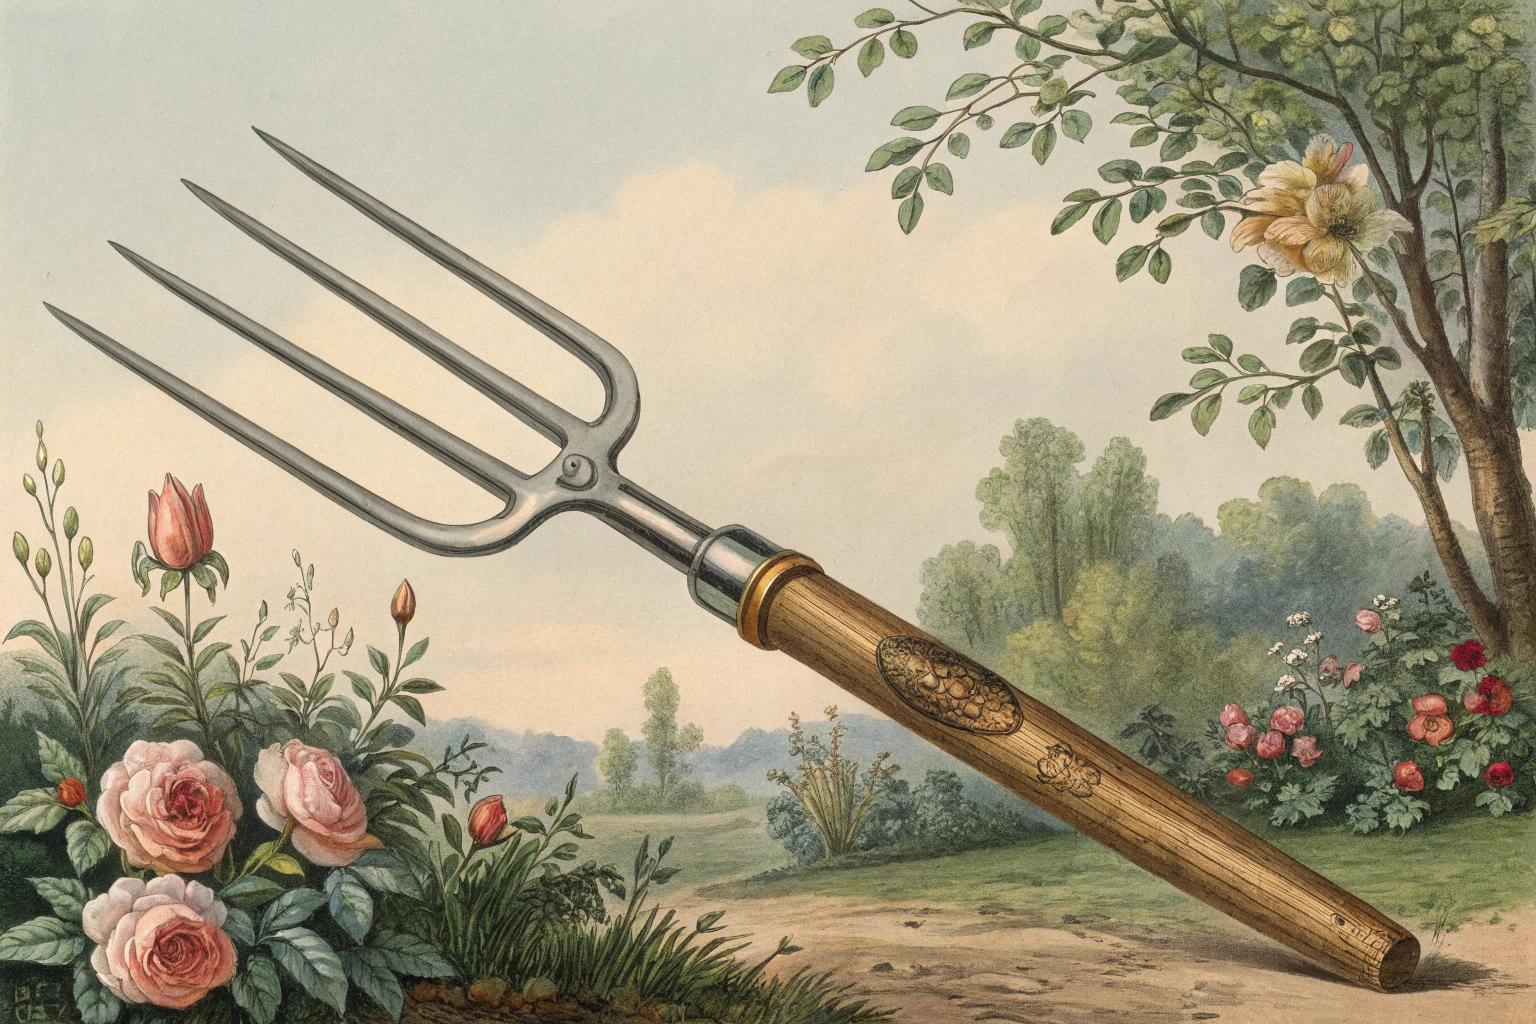
Garden fork
garden fork aerates compacted soil, boosts drainage, and gently loosens weeds without disrupting your vegetables' root systems. Using a garden fork breaks up hard earth layers, allowing roots to breathe and absorb nutrients efficiently. Regularly turning soil with a garden fork enables beneficial organisms to thrive, enriching your vegetable patch naturally. Here's how this simple tool transforms your harvest from decent to deliciously abundant.
Table of Contents1 sections
- Section 1· 9 min
Section 1
- 1
Check moisture with squeeze test
Squeeze a handful from 6 inches, 15 cm, deep and only proceed if it crumbles without a sheen.
- 2
Set tines and lift gently
Set Garden fork tines 6 to 8 inches, 15 to 20 cm, down and lift without flipping or mixing.
- 3
Work in a tight grid
Ladder the pattern every 6 inches, 15 cm, across stubborn beds, then let frost heave and roots finish.
- 4
Topdress and mulch surface
Feed the surface with 1 inch, 2.5 cm, of compost, then mulch so open pores have armor.
- 5
Limit disturbance over time
Use the fork sparingly in no-dig beds, then let compost, cover crops, and restraint build structure.
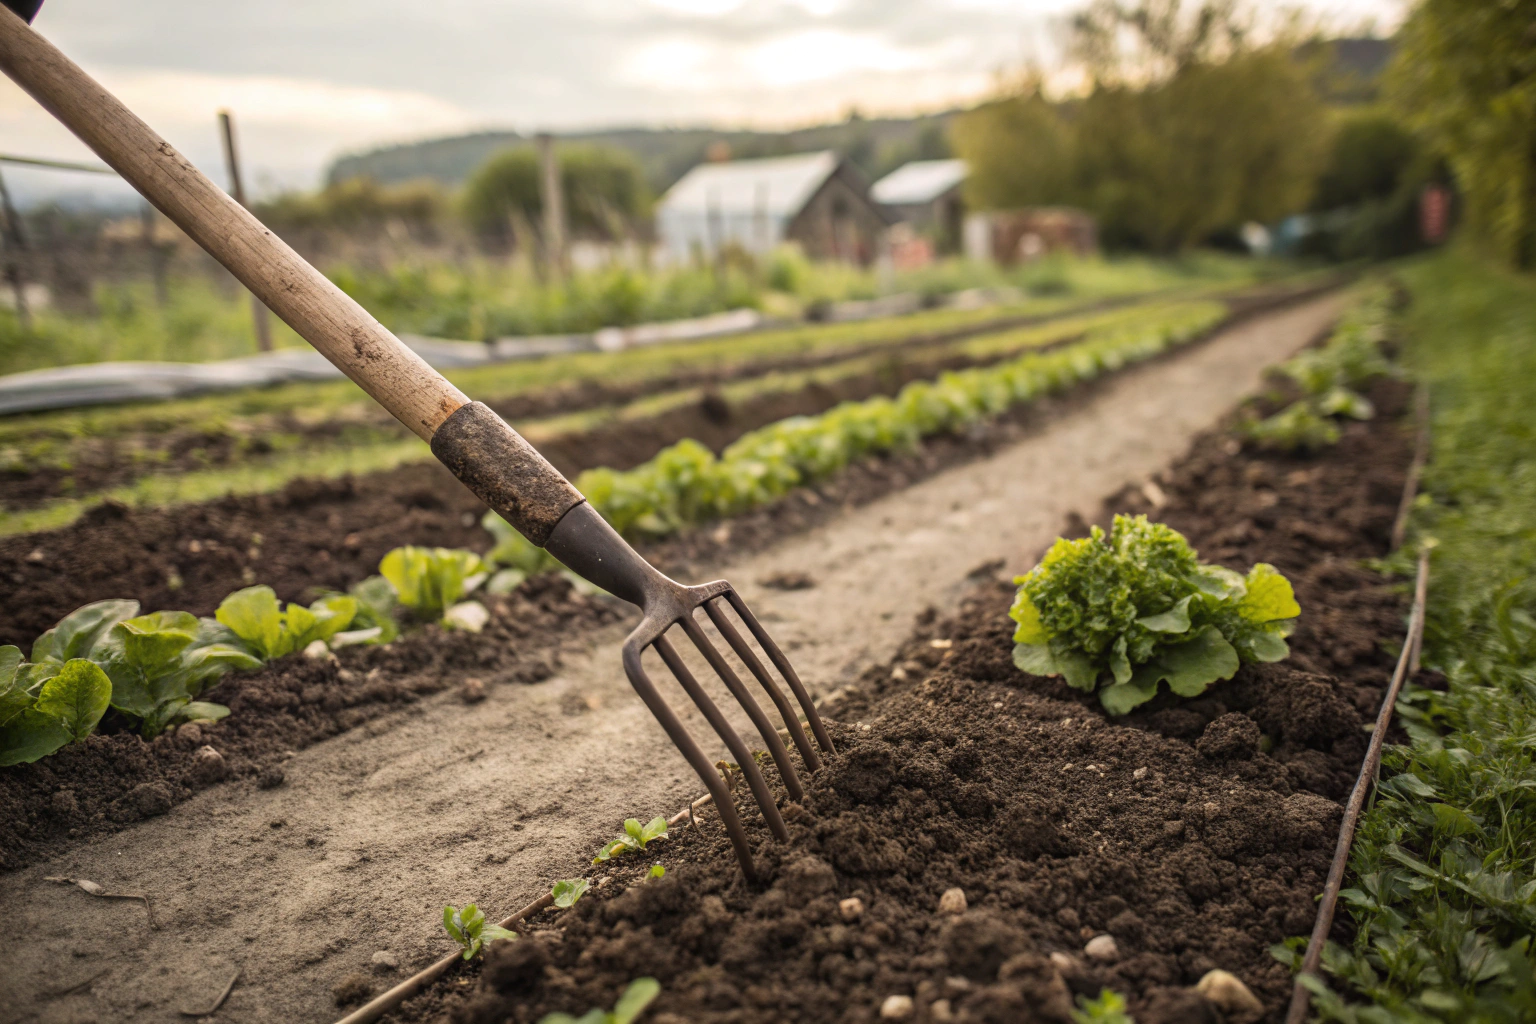
I reach for the Garden fork before coffee most mornings, because it rewrites the soil under my boots without shredding it. The right tines, used with patience, turn compacted beds into oxygenated, springy tilth that roots race through.
A fork eases bulk density instead of flipping horizons, which protects aggregates and the fungal highway we rely on. Spades and tillers shear plates; a fork fractures them with minimal inversion.
USDA soil guides peg root-limiting bulk density for many loams around 1.6 g/cm³, while ideal beds sit near 1.1 to 1.4 g/cm³. I watch carrots straighten the season after I reduce compaction with a gentle wiggle rather than a churn.
USDA NRCS notes that soil compaction commonly cuts yields 10 to 20 percent, and improving soil organic matter by 1 percent can increase water storage by about 20,000 gallons per acre.
Sources: NRCS Soil Quality Guides and Soil Health literature.
I squeeze a handful from 6 inches, 15 cm, deep and poke it. If it crumbles with a nudge and leaves no sheen on my palm, I proceed, because working wet soil polishes pore walls and locks in slick pans.
University extensions from Minnesota to Cornell preach the same squeeze test for a reason, and they are right. I have learned the hard way on March clay that patience beats weeks of clod-busting later.
I set the Garden fork tines straight down 6 to 8 inches, 15 to 20 cm, lean back until the soil lifts a hair, then stop. No flipping, no mixing, just a lift and a breath for the microbes.
On stubborn beds I ladder the pattern every 6 inches, 15 cm, across the row, then let winter do the rest. Frost heave and spring roots finish the job better than any engine I own.
Mycorrhizal hyphae lace beds like an old fishing net, and they do not love rotors. A fork spares much of that network, so phosphorus uptake stays lively and seedlings settle faster.
I see fewer transplant checks with this method, and water infiltration doubles after a season of lift-only prep plus mulch. The soil sponges rain instead of sluicing it sideways.
Forks look similar until a wet October makes you test your purchase. Here is how I separate the pretenders from the lifers.
Spring: I fork once on crumbly moisture, then feed the surface with 1 inch, 2.5 cm, of compost and rake to seed. The fork makes pores, the compost fuels them.
Summer: I spot-lift only where footpaths compact, then mulch with chopped leaves to keep temps stable. Tomatoes respond with deeper, cooler roots.
Fall: I harvest roots by sliding under and levering gently, potatoes come out clean, carrots stay straight. Beds get a last airy lift before winter covers.
I keep elbows in, use legs for the pry, and move in a grid to avoid twisting. Short, controlled levers beat heroic heaves every time.
Wet clay asks for patience, dry sand asks for rhythm. Either way, I stop before fatigue ruins form, because good beds do not need punishment.
I run no-dig beds and still use a fork sparingly to heal old compaction or harvest roots. Charles Dowding is right on disturbing soil as little as possible, but a one-time lift can jumpstart structure underneath the mulch.
After that, compost, cover crops, and restraint keep the fork mostly on the shed wall. Restraint builds soil faster than any steel can.
A single lift every grid square increases infiltration right where roots want it. Earthworm counts in my beds doubled in a season after I swapped the tiller for the fork, then stopped stepping in rows.
FAO reminds us that about 95 percent of food comes from soil directly or indirectly, so treating that habitat gently pays rent. Gentle prying fits that ethic better than spinning blades.
A compost fork moves airy materials fast, but I switch back to a digging fork to feather in a thin topdress. I avoid burying compost, because surface placement feeds soil life from the top down.
Straw, leaves, and chipped prunings settle nicely after a light lift. The fork makes toothy ground that grabs mulch instead of letting wind steal it.
I dress the tines with a flat file, light oil on steel, and a wipe after wet days. Handles get a rub of linseed once a year, 20 minutes that adds years to the tool.
Loose sockets mean stop and fix, wood wedges or epoxy if needed. A rattle ignored becomes a broken head at the worst moment.
RHS guidance has long favored forks for heavy or stony soils and for lifting crops without damage. That aligns with my experience on glacial till where spades ping off cobbles.
Rodale Institute and NRCS both underscore reduced tillage for better soil structure and water handling. The fork fits that philosophy, it is restraint with teeth.
USDA NRCS Soil Health: guidance on compaction, organic matter, and water holding. Their figures on yield loss and water storage track with what I see after forking and mulching.
RHS: tool use on heavy soils and crop lifting best practices, consistent with fork-first prep. Rodale Institute: reduced till systems that align with lift-don’t-invert bed care.
I have watched a Garden fork turn sullen, puddled clay into a bed that breathes and feeds seedlings without drama. Quiet leverage, correct timing, and a light hand, that is the whole trick.
- Digging fork: 4 square or slightly tapered tines, 11 to 12 inches, 28 to 30 cm, long. Best for bed prep, clay, and general lifting.
- Border fork: Narrower head, lighter, handier in tight beds and around perennials. Great for raised beds and smaller frames.
- Compost fork: 5 to 8 wide, curved tines for fluffing heaps and moving mulch. Not for prying dense ground.
- Potato fork: Broad head with many blunt tines to lift tubers without spearing. I use it for sweet potatoes and sunchokes.
- Broadfork: Two handles, 5 to 7 long tines, 12 to 16 inches, 30 to 40 cm, for deep loosening. Efficient on wider beds and serious compaction.
- Head: One-piece, drop-forged steel resists twist. Stainless sheds soil and rust, high carbon bites better in clay; pick your poison.
- Tine geometry: Square-section tines grip and pry, flat tines glide and smear less in sticky soils. Slight taper reduces effort.
- Shaft: Straight ash or hickory gives flex and feedback, fiberglass shrugs off weather but feels less alive in the hand.
- Socket: Long, strapped sockets spread stress and outlast short collars. Wobbly sockets snap first under leverage.
- Grip: Y-handle, T-handle, or D-handle depends on your wrists and stance; I prefer a D for control with gloves.
- Weight: 4.5 to 6.5 lb, 2 to 3 kg, is a sweet spot for most beds. Heavier only if your back loves punishment.
- Price: Expect 60 to 120 USD, 55 to 110 EUR, for a forged digging fork with a hardwood shaft. Broadforks run 160 to 300 USD, 150 to 280 EUR.
- Warranty: Reputable makers back heads for years, sometimes for life, which matters when clay laughs at you in April.
- Carrots and parsnips: Fork to full tine depth to erase plow pans, then avoid walking on rows. Crooked roots became market-straight after one careful season for me.
- Brassicas: Lightly fork, add compost, and firm the surface with the back of a rake. They like a settled bed over a resilient sublayer.
- Alliums: Fork between rows midseason to vent crust after pounding rain. Bulbs swell more evenly with that extra oxygen.
- Potatoes: Use a potato fork and lift from outside the hill to save tubers. I keep punctures under 2 percent with that angle.
- Working wet soil, which polishes pores and makes bricks. If the clod shines, I walk away.
- Over-loosening before tiny seeds. Fine seedbeds still need a supportive base under the first inch, 2.5 cm.
- Mixing layers deeply every year. Lift, do not invert, and let worms do the rest.
- Skimping on mulch after forking. Open pores need armor from sun and hammering rain.
- Weed extraction: Slide in beside taproots and lever gently, crowns come whole and regrow less.
- Bed edging: The tines mark straight lines at proper spacing faster than a tape when I am setting transplants.
- Drainage checks: Push in after storms and feel resistance. Sudden hard spots tell me where I walked when I should not have.
- Garden fork vs spade: Fork glides around stones and pries without slicing roots; spade cuts clean edges and moves slabs of soil. I prep with a fork, I edge with a spade.
- Garden fork vs tiller: Fork preserves structure and biology; tiller is faster for raw ground but oxidizes organic matter and smears in wet pockets. I retired my small tiller after watching crust form after every rain.
- Garden fork vs broadfork: Fork is nimble and cheap; broadfork covers more ground with less strain on wide beds. I use a broadfork for deep compaction, then maintain with the hand fork.
- Heavy clay, high traffic beds: Forged carbon steel digging fork, stout square tines, D-handle, 5.5 to 6.5 lb, 2.5 to 3 kg.
- Raised beds and smaller frames: Border fork, stainless head for easy clean, lighter weight, Y-handle for finesse.
- Deep compaction on new plots: Broadfork with 5 to 7 tines at 14 inches, 35 cm, and removable handles for storage.
- Compost-centric systems: Curved 5 to 6 tine compost fork plus a standard digging fork for occasional prying.
- 1
Wait for workable moisture using the squeeze test
Patience saves structure. - 2
Grid-lift with the Garden fork at 6-inch, 15 cm, spacing without inverting
Listen for the quiet crumble. - 3
Topdress 1 inch, 2
5 cm, of compost, then mulch. Keep feet off the bed except on boards. - 4
Revisit compaction paths midseason with a few targeted lifts
Protect with mulch again. - 5
Repeat lightly next spring, then do less each year
Let roots, worms, and time finish the job.
Cheatsheet: Boost Yields with a Garden Fork
Soil Loosening & Aeration
Prongs break compacted soil without slicing worms. Aeration lifts yields by up to 45% in root crops. Improved drainage prevents root rot. Loosen soil to 12 in / 30 cm depth for best results.
Weed & Debris Removal
Use the fork to extract deep roots and lift old stems. Minimizes soil disturbance compared to shovels, preserving microbial life for better nutrient cycling.
Easier Harvesting
Slide fork beneath root crops like carrots, potatoes, beets. Reduces crop damage by 60% vs. spades. Keeps roots whole, maximizing nutrition and storage life.
Compost Incorporation
Mix compost or green manure into beds. Fork improves organic matter contact with soil, boosting nutrient content and soil health.
Improved Watering Efficiency
Loosened soil absorbs and distributes water & nutrients more evenly. Reduces runoff, supports drought resilience.
Tools and Products You’ll Need Stainless steel or carbon steel garden fork, 4-tine preferred Compost or mulch Gloves for grip Steps to Use a Garden Fork Prep: Remove surface debris and rocks. Insert: Push fork vertically into soil, prongs down, spacing every 6 in / 15 cm. Leverage: Rock handle back gently to lift and loosen soil. Avoid over-turning. Mix: Add compost, repeat process for thorough mixing. Clean: Rinse fork after use, dry to prevent rust. ️ Health & Self-Sufficiency
Better soil grows nutrient-rich vegetables. Boost self-reliance; one fork = 50% less manual effort vs. digging by hand.
Want a more guided way to practice garden fork?
Frequently Asked Questions About Using a Garden Fork
How does working soil with a garden fork affect vegetable growth?
Digging in with a garden fork aerates the earth, inviting beneficial organisms to thrive and preventing compacted soil from choking tender roots. This careful loosening creates space for roots to travel deeply and freely, transforming sleepy plots into vigorous vegetable patches.
Can a garden fork help manage weeds effectively?
The garden fork disturbs weed roots gently, making it easier to lift and clear them from your vegetable beds without damaging surrounding plants. Turning weeds out this way encourages cleaner soil and fewer pests.
Is a garden fork suitable for harvesting root crops?
Indeed, using a sturdy garden fork lifts root vegetables like potatoes, carrots, and beets from the earth without bruising or slicing them. The gentle leverage it provides preserves your crops' integrity while keeping your back happy.
What's the best technique for properly using a garden fork?
Grip the handle firmly, insert the tines vertically into your soil, and press down with one foot to achieve penetration. Then, gently lever back and forth, lightly loosening clods instead of overturning entire layers. This technique protects precious soil structure, keeping life underground intact.
How frequently should the soil be turned with a garden fork?
Avoid overworking the earth, once or twice a season typically suffices to maintain proper soil health. Extra attention might be needed if you're starting a fresh plot or dealing with heavy clay soils. Moderation ensures the garden ecosystem flourishes.
Conclusion
There’s something honest about a garden fork: steel tines slicing through earth, roots giving way, old soil turning alive again. This simple tool keeps your patch loose, aerated, and primed for nutrient-dense vegetables. It’s what lets compost settle deep, roots stretch, and rainwater soak in instead of running off. Forget gadgets that promise shortcuts: sharp tines and elbow grease still win every time.
Lean on your garden fork to break new ground, clear weeds, or fluff the mulch. Respect the seasons, keep your soil open, and you’ll see the difference in every harvest. For more on building healthy beds and growing smarter, check out this collection of the best gardening websites. A reliable fork doesn’t just work the soil; it works with you, season after season.